
PowerPoint files cannot be imported into earlier versions of Adobe Captivate. But Adobe Captivate 13 completely changes the game. Now, importing PowerPoint is easy, useful and efficient.
This guide will show you everything you need to know about importing PowerPoint files into Adobe Captivate 13. Whether you’re new to eLearning or have been doing it for years, you’ll learn how to turn a PowerPoint presentation into an engaging online course.
why this is important
Most people create training content in PowerPoint first. It’s familiar and easy to use. But turning those slides into interactive eLearning courses used to mean starting from scratch. no longer.
Adobe Captivate 13 can now take your PowerPoint files and convert them into editable eLearning content. This means you can work faster, collaborate better with your team, and reuse content you’ve already created.
How to import PowerPoint files
Importing is simple. This is what you do:
Step one: Open Adobe Captivate 13 and click “Import PowerPoint” on the left side of the welcome screen.
Step 2: Find your PowerPoint file on your computer.
Step 3: Select your file and click Import.
Important things to know:
- Only valid for PPTX files (newer PowerPoint format). If you have an old PPT file, save it as PPTX first.
- Your slides will maintain their original size and shape.
- Imported projects do not automatically adjust to different screen sizes, such as mobile phones or tablets. They only work in desktop view.
What happens when importing
The good news: Adobe Captivate 13 imports content intelligently. Most content remains editable rather than turning into flat images.
What you can still edit:
- text: All text boxes remain as text. You can change the text, font, color and size.
- picture: Images import cleanly and you can resize, crop or resize them.
- shape: Arrows, stars, circles, and other shapes remain editable.
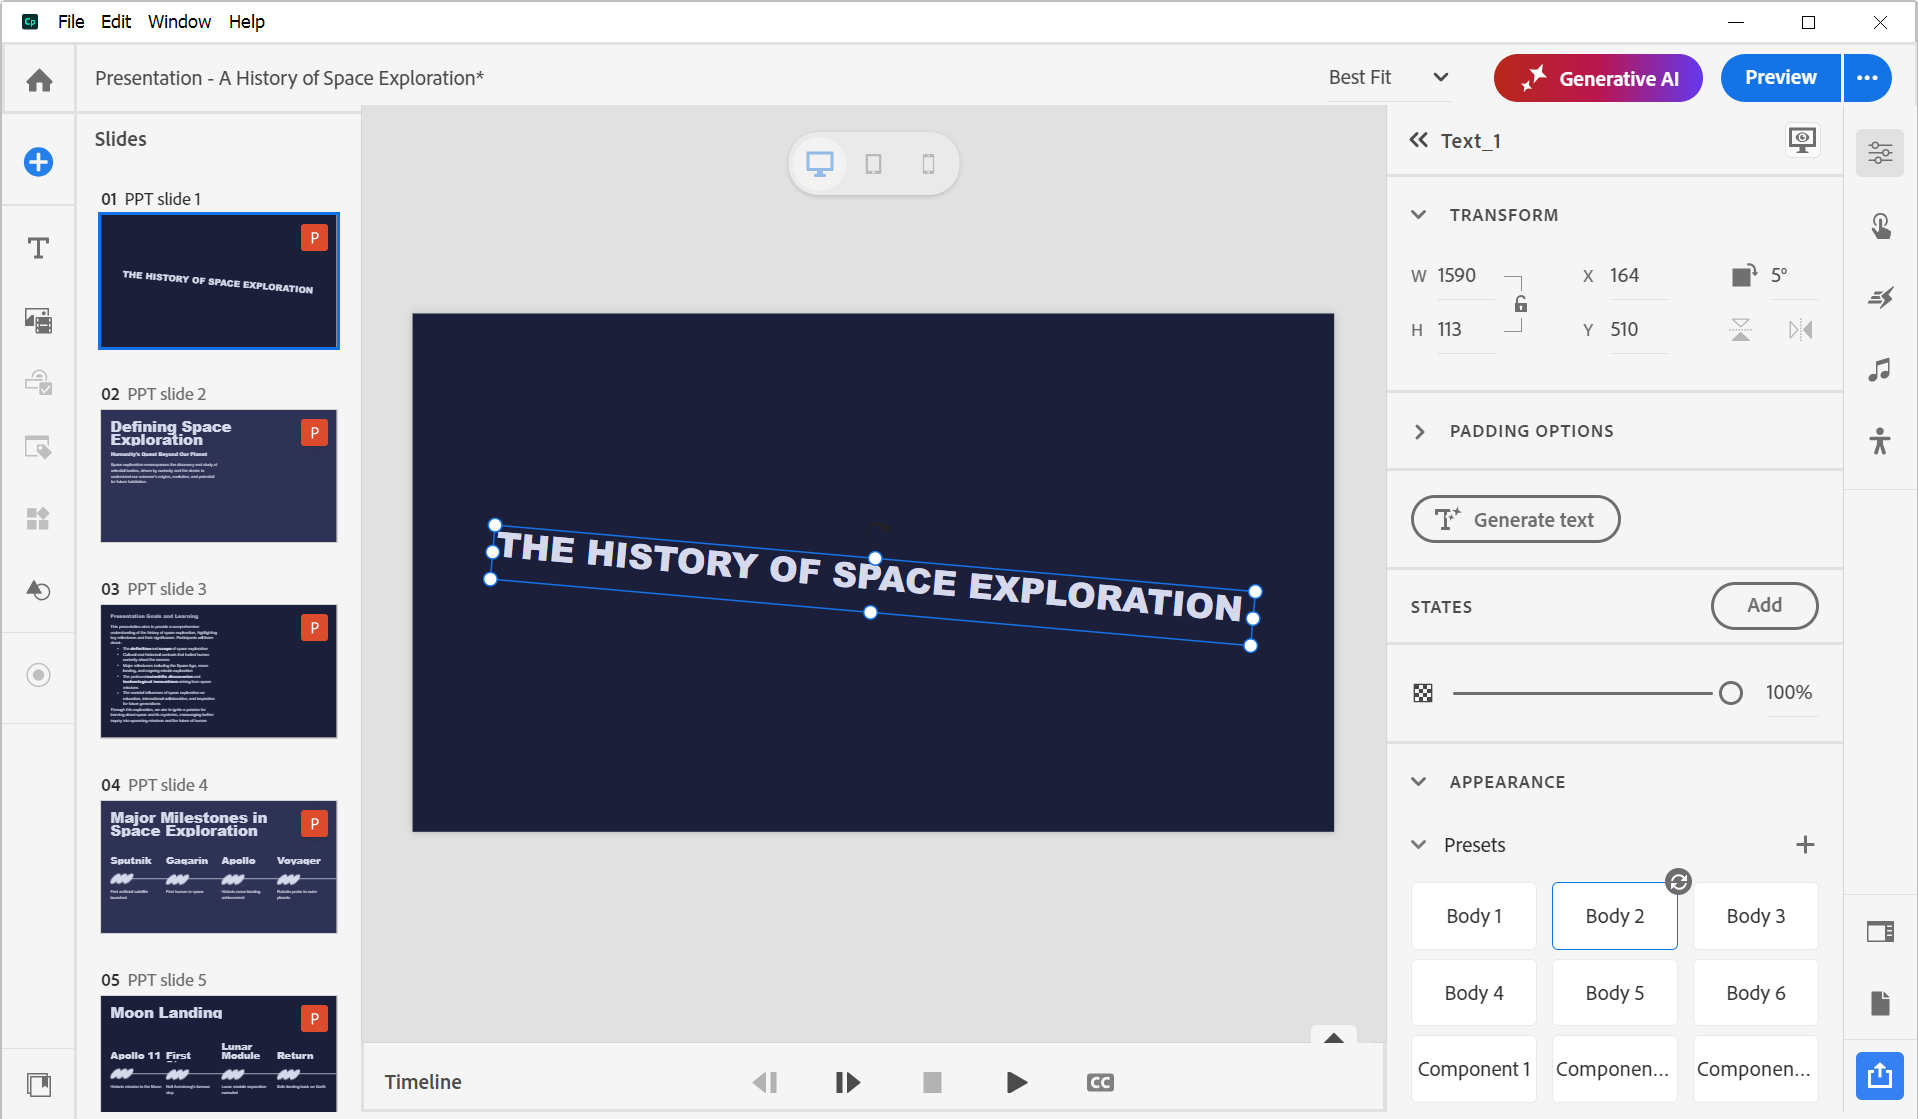
Since these elements remain editable, you get special tools to work with them. The Visual Properties Inspector has a Transform section where you can:
- resize things
- move them
- flip or rotate them
- adjust their angle
example: Want to slant your title at an interesting angle? Just type “5 degrees” into the rotation box and it will tilt.
Process text
Text is very flexible after importing. you can:
- If you change
- Choose new font
- Adjust color
- Add effects like shadows or outlines
- Change text alignment
example: If your slide says “History of Space Exploration” but you want it to just say “Space Exploration,” just delete the extra words. No need to recreate anything.
You can also create text styles and save them as presets. This keeps your entire course looking consistent.

Convert speaker notes into narration
This is one of the coolest features. If your PowerPoint slides have annotations (notes read by the speaker during the presentation), Captivate can use AI speech to automatically convert them into audio narration.
Here’s how:
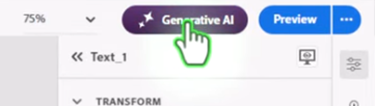
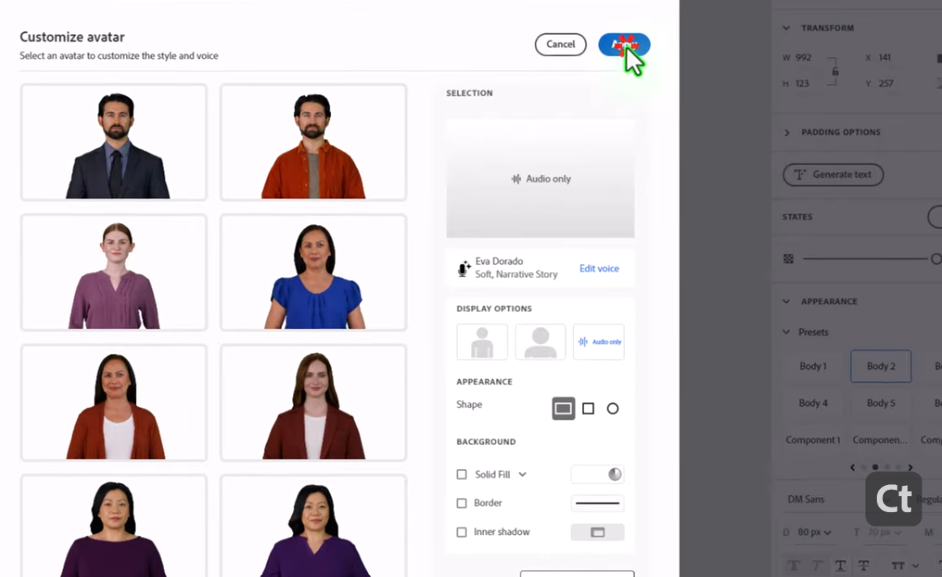
1. Click the “Generative AI” button at the top
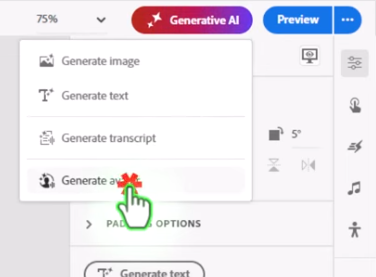
2. Select “Generate avatar”
3. Choose audio only or on-screen avatar
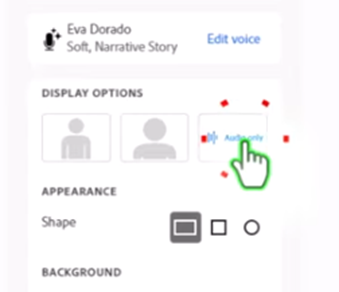
4. Click “Apply”
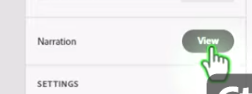
5. Go to the Narration section
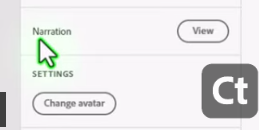
6. Click “View” to view your notes
7. Click Generate to create the audio
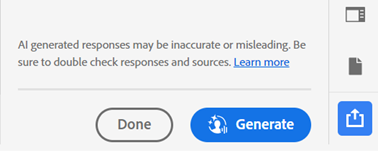
The best part? You don’t have to wait. Click Build and continue with other work. The audio will be ready when you come back.
Edit image
Imported image quality is intact. Once they’re in Captivate, you can:
- resize them
- Crop them in different ways
- Apply filter
- Adjust brightness and contrast
Edit image:
Double-click the image or click the pencil “Edit Image” icon. You’ll see tools for changing the crop, enlarging different sections, or adjusting their appearance.
When finished, press Enter and save changes. Then place the image wherever you want on the slide.
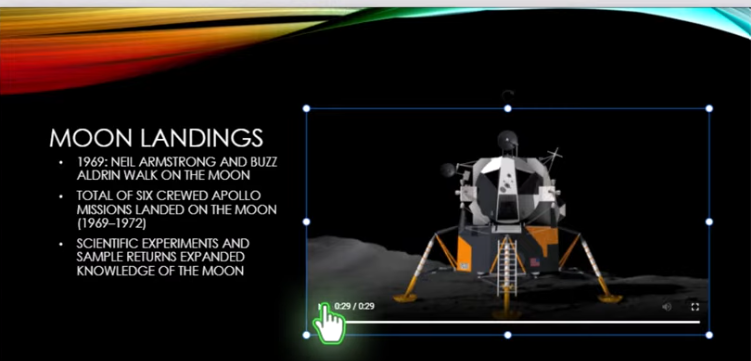
Videos stay interactive
If your PowerPoint has videos, they will be imported as interactive videos. This means learners can:
- Play and pause
- jump forward or backward
- adjust volume
- Make the video full screen
- View closed captions (if you added them)
Videos don’t become static or restricted. They remain fully functional and easily accessible.
Shape works well
Shapes import beautifully and remain editable. When you click on an imported shape, you’ll see yellow handles that allow you to adjust it.
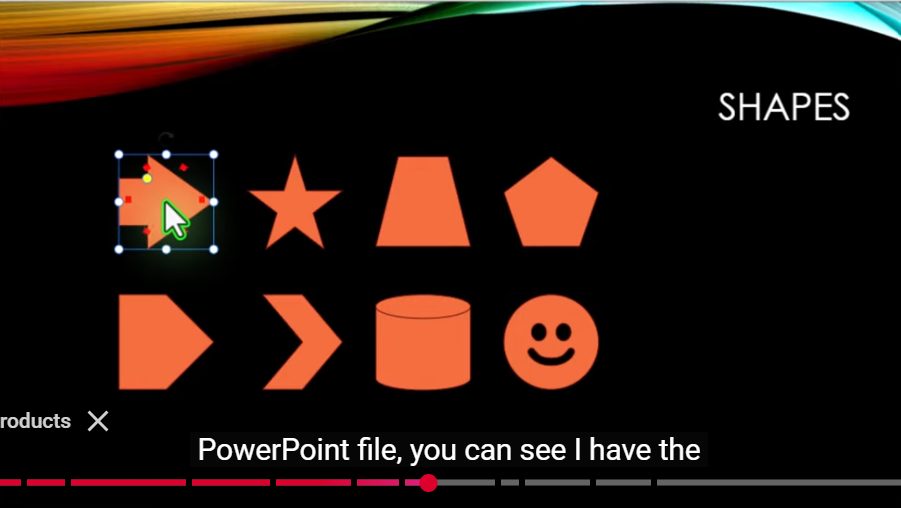
What you can do:
- Make arrows point in different directions
- Make celebrities thinner or fatter
- tilted polygon
- Adjust V shape
- Even change the 3D cylinder angle
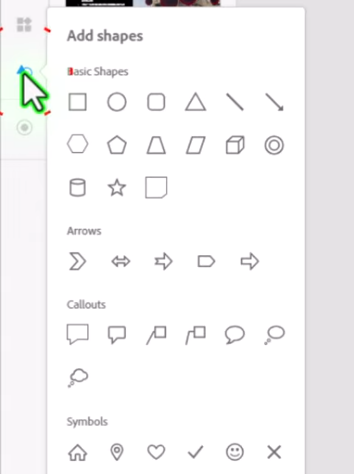
If you need more shapes, click the Add Shape icon on the left toolbar. You’ll find basic shapes, arrows, callouts, and symbols that you can add to any project.
something becomes an image
Not all content can be edited. These items are converted to static images:
- SmartArt Charts
- 3D model
- Equations and Formulas
- sheet
Good news: They’re still imported – they’re not going away. You just can’t edit them the same way.
Solution: For SmartArt, you can recreate it using Captivate’s tools:
- Move imported image to one side
- Add word text box
- Import SVG graphics as visual elements
- place everything to match
- Delete the original static image
Yes, it takes extra time. But you will have full control to change the content later.
Animations are also transferred
If your PowerPoint slides have animations, they will go into Captivate as Captivate animations. You can view them on the timeline and edit them.
you can:
- View imported animations
- change it to something different
- Add new animation
- Adjust timing and effects
You’re not locked into what PowerPoint has to offer. Take this as a starting point and make it better.
Build custom interactive content
Sometimes you need to replace imported static elements with more interactive content.
The process is as follows:
- Keep imported images as reference
- Add text title to replace text
- Import SVG images for graphics processing
- Customize color, size and position
- Add animation to make it dynamic
- Delete the original static image
example: For a slideshow about space exploration using static SmartArt, you can:
- Create a text box for each point
- Import SVG Rockets and Planets
- Change colors to match your course
- Rotate elements for visual interest
- Add expansion animation to make items appear one by one
This creates engaging, interactive content that learners cannot get from static images.
Work with your team
PowerPoint import changes the way teams collaborate.
New workflow:
- Subject matter experts create content in PowerPoint (what they know)
- They add speaker notes to the narration
- You import it into Captivate
- You enhance and customize it
- Everyone works in their own area of expertise
It gives you a head start even if you don’t use the imported content exactly as-is. Pictures, text, video, structure are all there. All you have to do is customize, improve, and polish.
Before importing:
- Start by reviewing your PowerPoint file
- Recognize SmartArt, 3D models or complex tables
- Plan how to recreate these elements
- Remember that imported content only works in desktop view
Tips for success
- Keep it simple: Start with a simple PowerPoint file when learning. Once you feel comfortable, add complexity.
- Plan ahead: Understand what content requires additional work after importing (such as SmartArt or tables).
- Use what works: If the text and images import perfectly, that’s great! Focus your time on strengthening these problem areas.
- Test everything: After importing, click on the slideshow to see what you need to pay attention to.
- Save time with presets: Create text and style presets early. Apply them throughout the course for consistency.
in conclusion
Adobe Captivate 13 turns PowerPoint import from a frustrating feature into a powerful tool. Now you can take PowerPoint files from Teams, quickly import them, and turn them into professional online learning courses.
The key is to understand what content imports well (text, images, shapes, videos) and what content requires additional work (SmartArt, 3D models, tables). Armed with this knowledge, you can plan your workflow and create amazing courses faster than ever.
Start simple, try out the features and find what works best for your project. The connection between PowerPoint and Captivate is now smooth and efficient, making your work easier and your courses better.


